The making of the exclusive Friendly Fire 7 bus model
Bus Simulator 21»PC / PS4 / XB1»December 10, 2021
The annual charity marathon Friendly Fire starring well-known talents such as Gronkh and PietSmiet took place for the seventh time on December 4, 2021 to support non-profit associations and organizations. This year the Bus Simulator 21 was also on board. As part of the 12-hour livestream an exclusive bus model in form of a Mercedes-Benz eCitaro – Friendly Fire Edition was auctioned for a good cause.
The project has been realized in close cooperation with Mercedes-Benz, the calaidosphere agency and the creative studio AJ Designs. The artist Mirko Moller has kindly summarized the creative process below to give you a detailed look behind the scenes.
The first steps: The Bus
At the beginning, when I received all the relevant information about the project, I divided it into three parts: The bus. The display. The box.
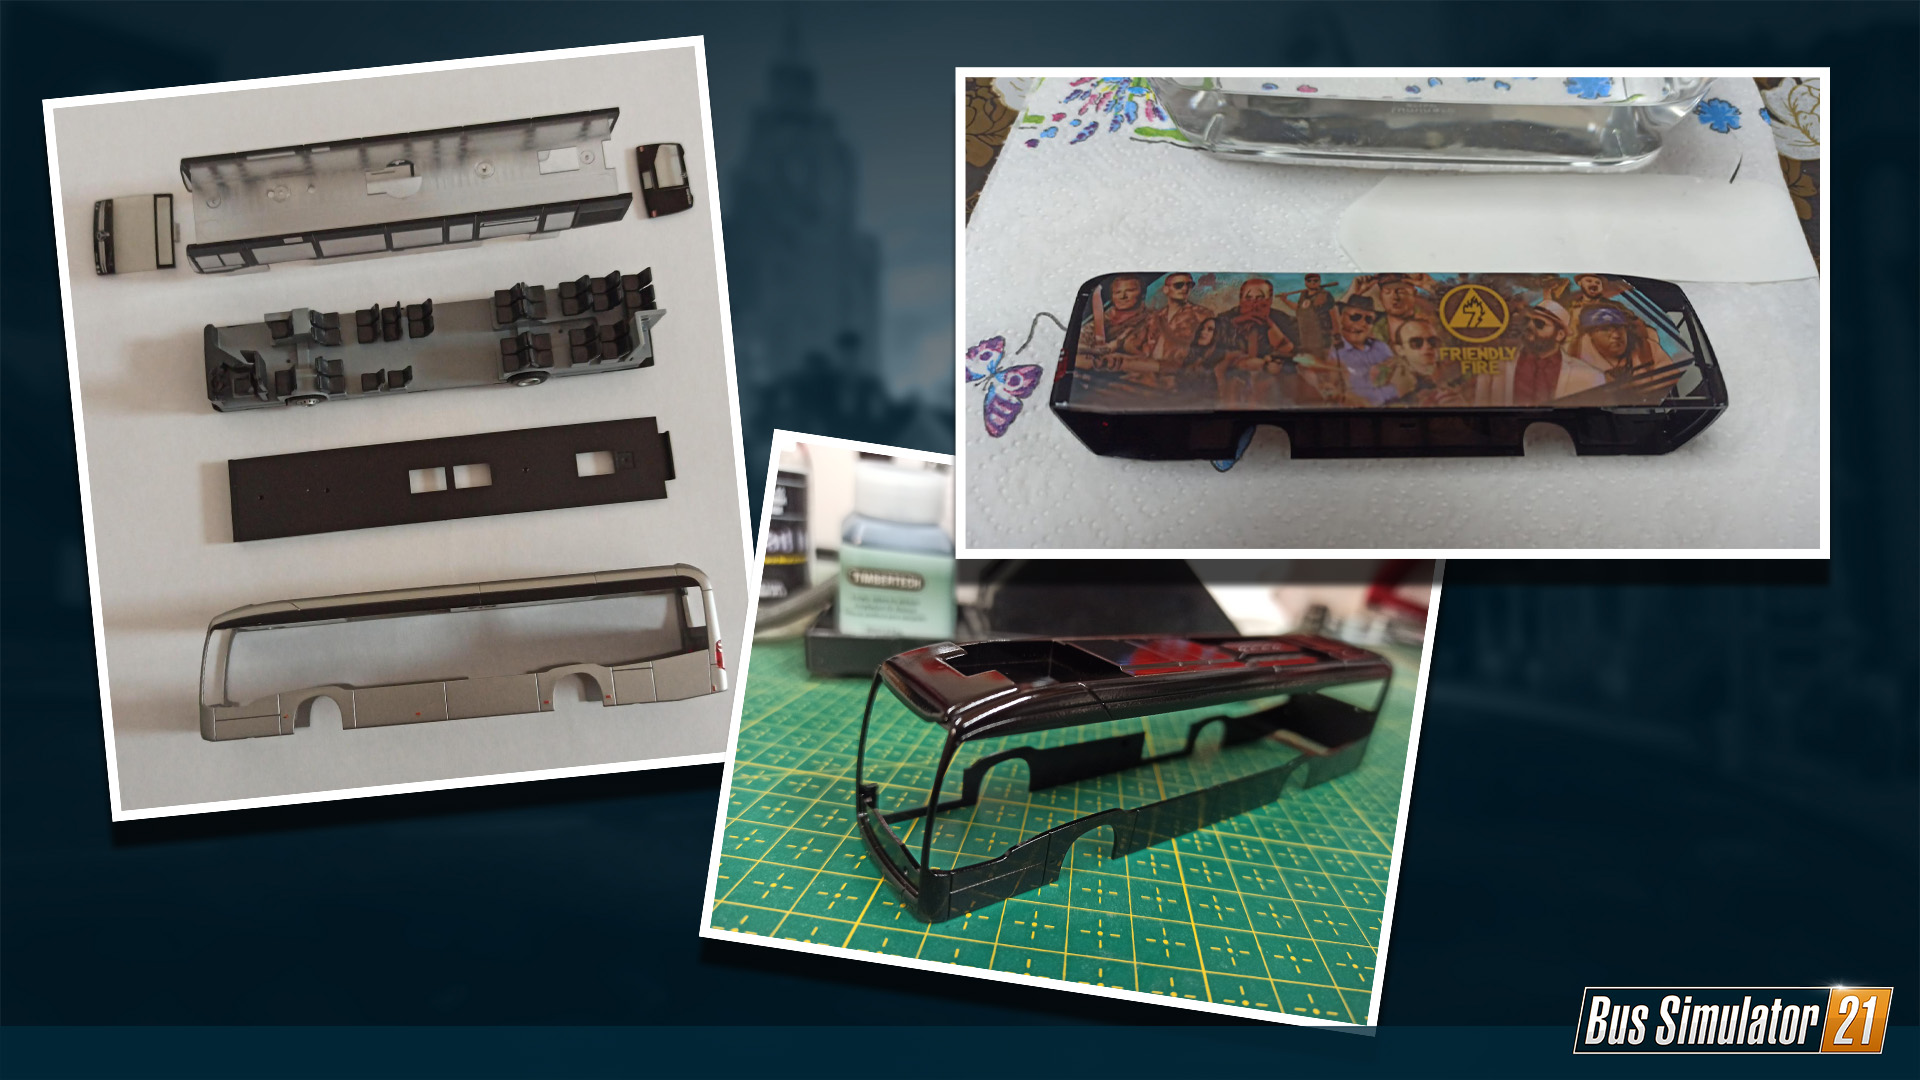
The challenge with the bus is which possibilities are there for me at all to put a picture on the model. For me there were only two options. A digital print sticker. After receiving the model and a few talks with local advertising printing companies it became clear, however, that this wasn’t possible. The scale of the bus was too small and therefore only the second option of using a water transfer foil remained.
So then… some internet research and ordering the foil, in two versions at once (transparent and white). First tests with the transparent foil on the originally silver colored bus failed, as bright details were not clearly visible due to the transparency. This is why I decided to use the white foil. Here I dismantled the bus model because of the design template and painted the body black, which I did by airbrushing. After the reassembly, the first tests with the printed white foil followed. But this as well did not want to work directly. I had several problems.
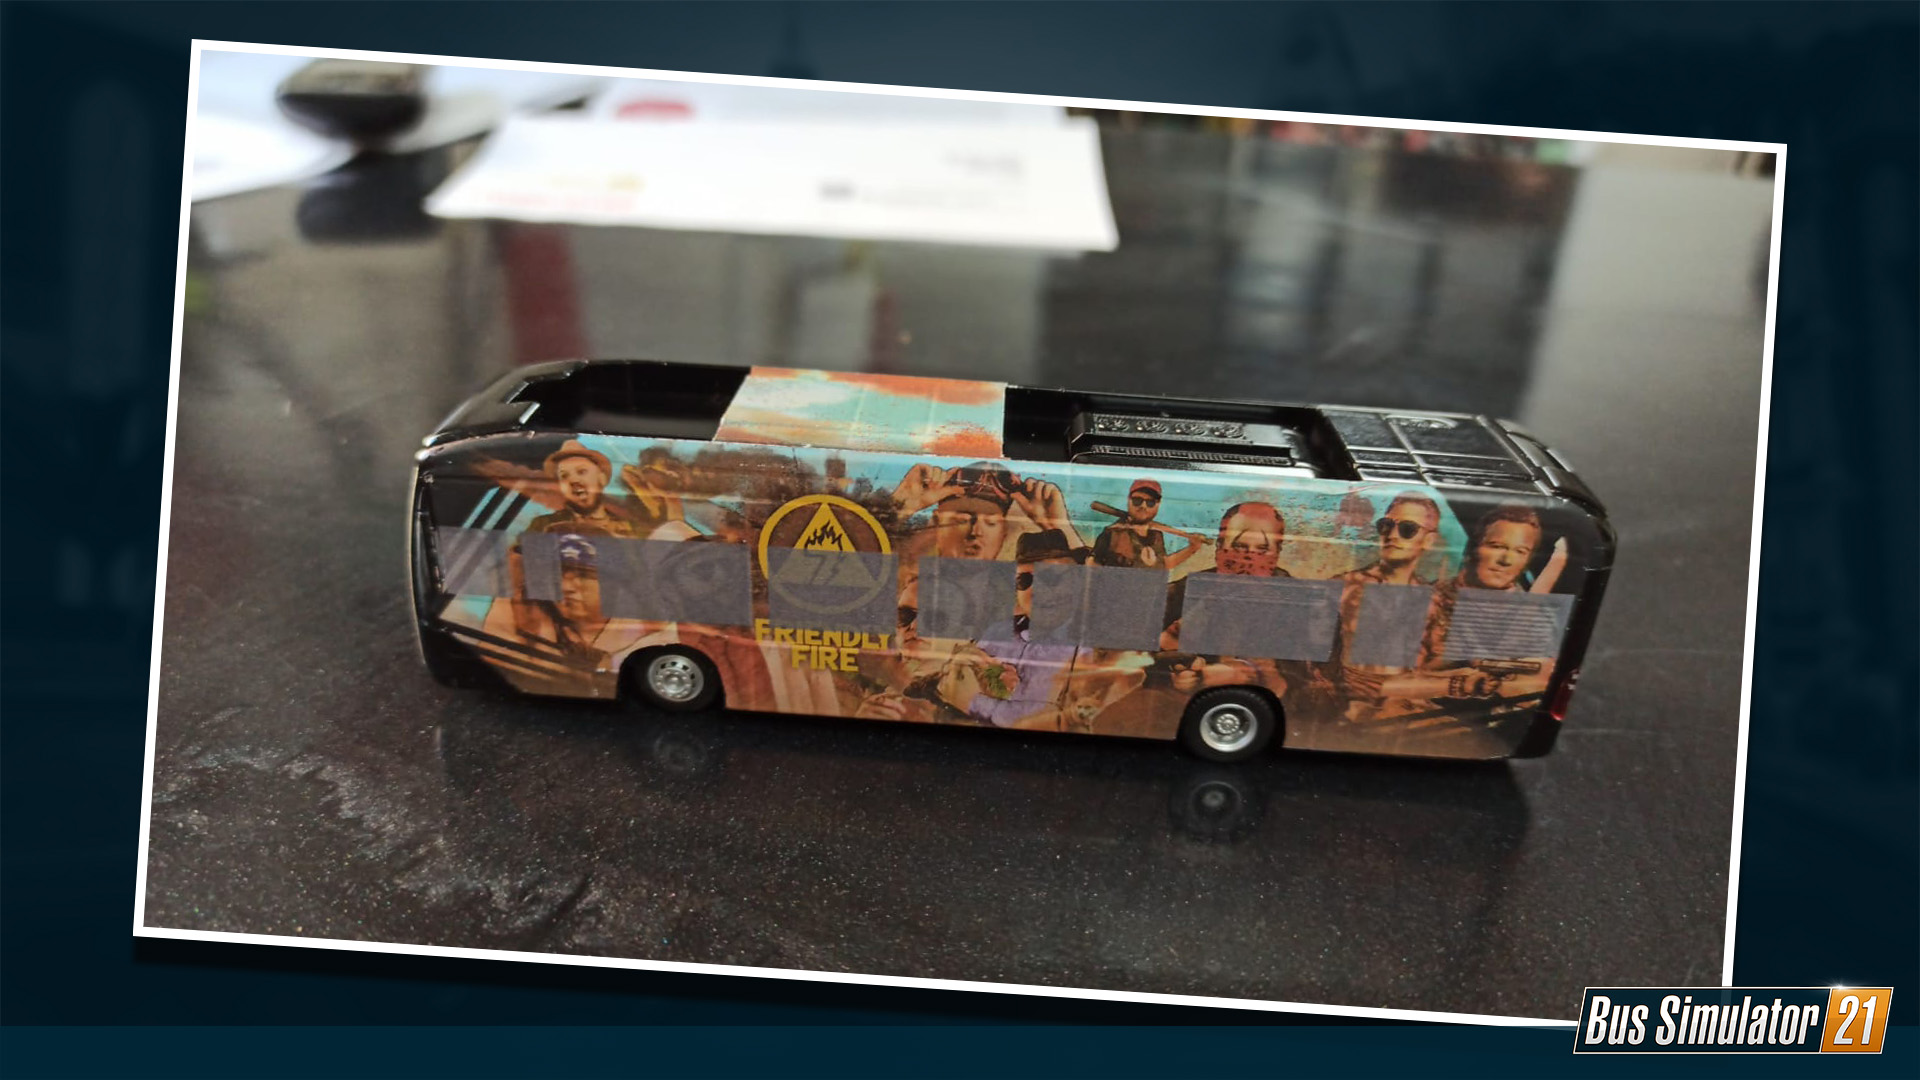
- The foil shrinks in the water so that the size did no longer fit on the bus when it is attached. I therefore had to adjust the size with multiple repeated test prints.
- The windows of the bus were no longer visible through the foil. This means that I had to draw windows onto the picture myself with the help of a drawing program, but in a way that the position would be just right. Which proved to be very complicated and challenging. But in the end it worked out.
- The foil cannot be cut directly after application – it will tear. So I left everything to dry first and then trimmed it with a scalpel.
- These problematic small parts… Small parts such as number plates are so tiny that the only way to properly attach them is by using a scalpel, a needle and a magnifying glass. Ultimately, however, it worked fine. After drying and cutting the foil I put attachments like mirrors and windshield wipers back on.
The right presentation: The Display
The requirement here was to fit in 11 signatures, so I decided right away against using a normal model case. There was just no way to present those 11 autographs in a visually beautiful manner…
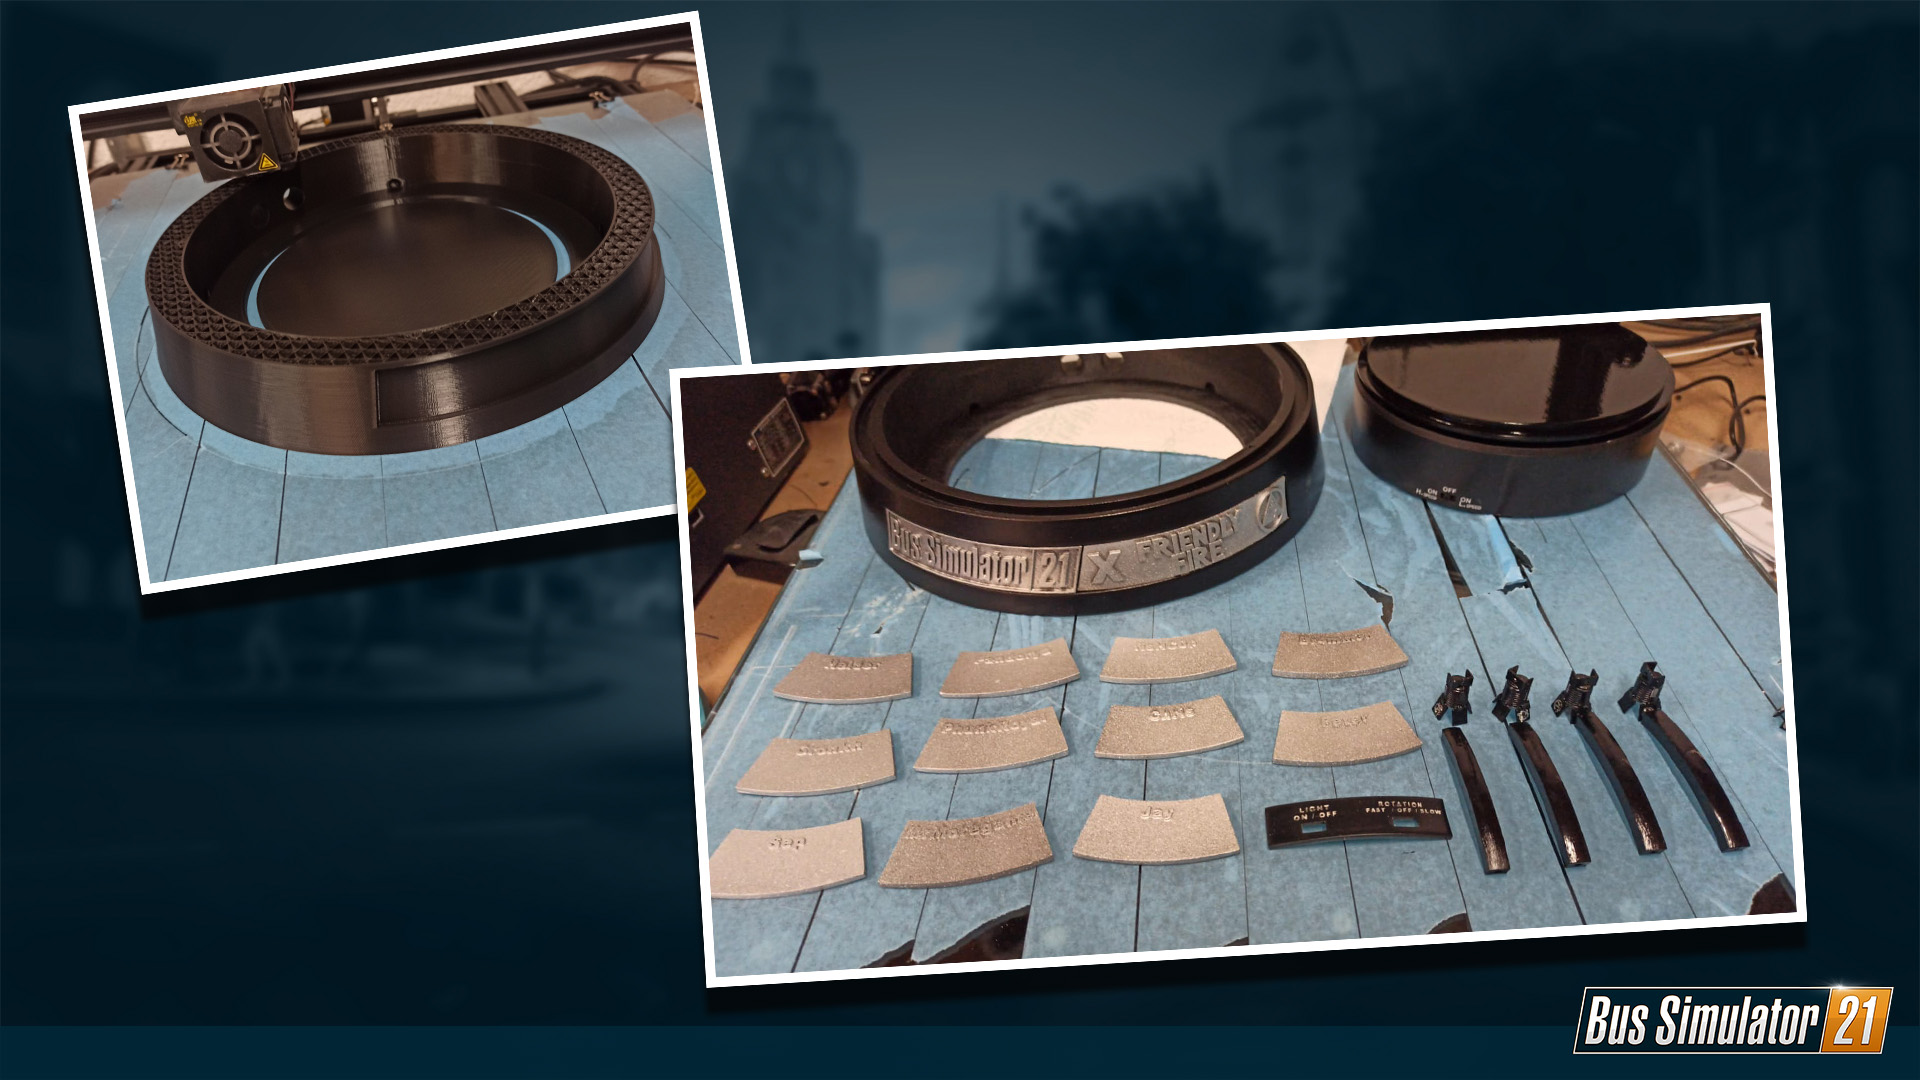
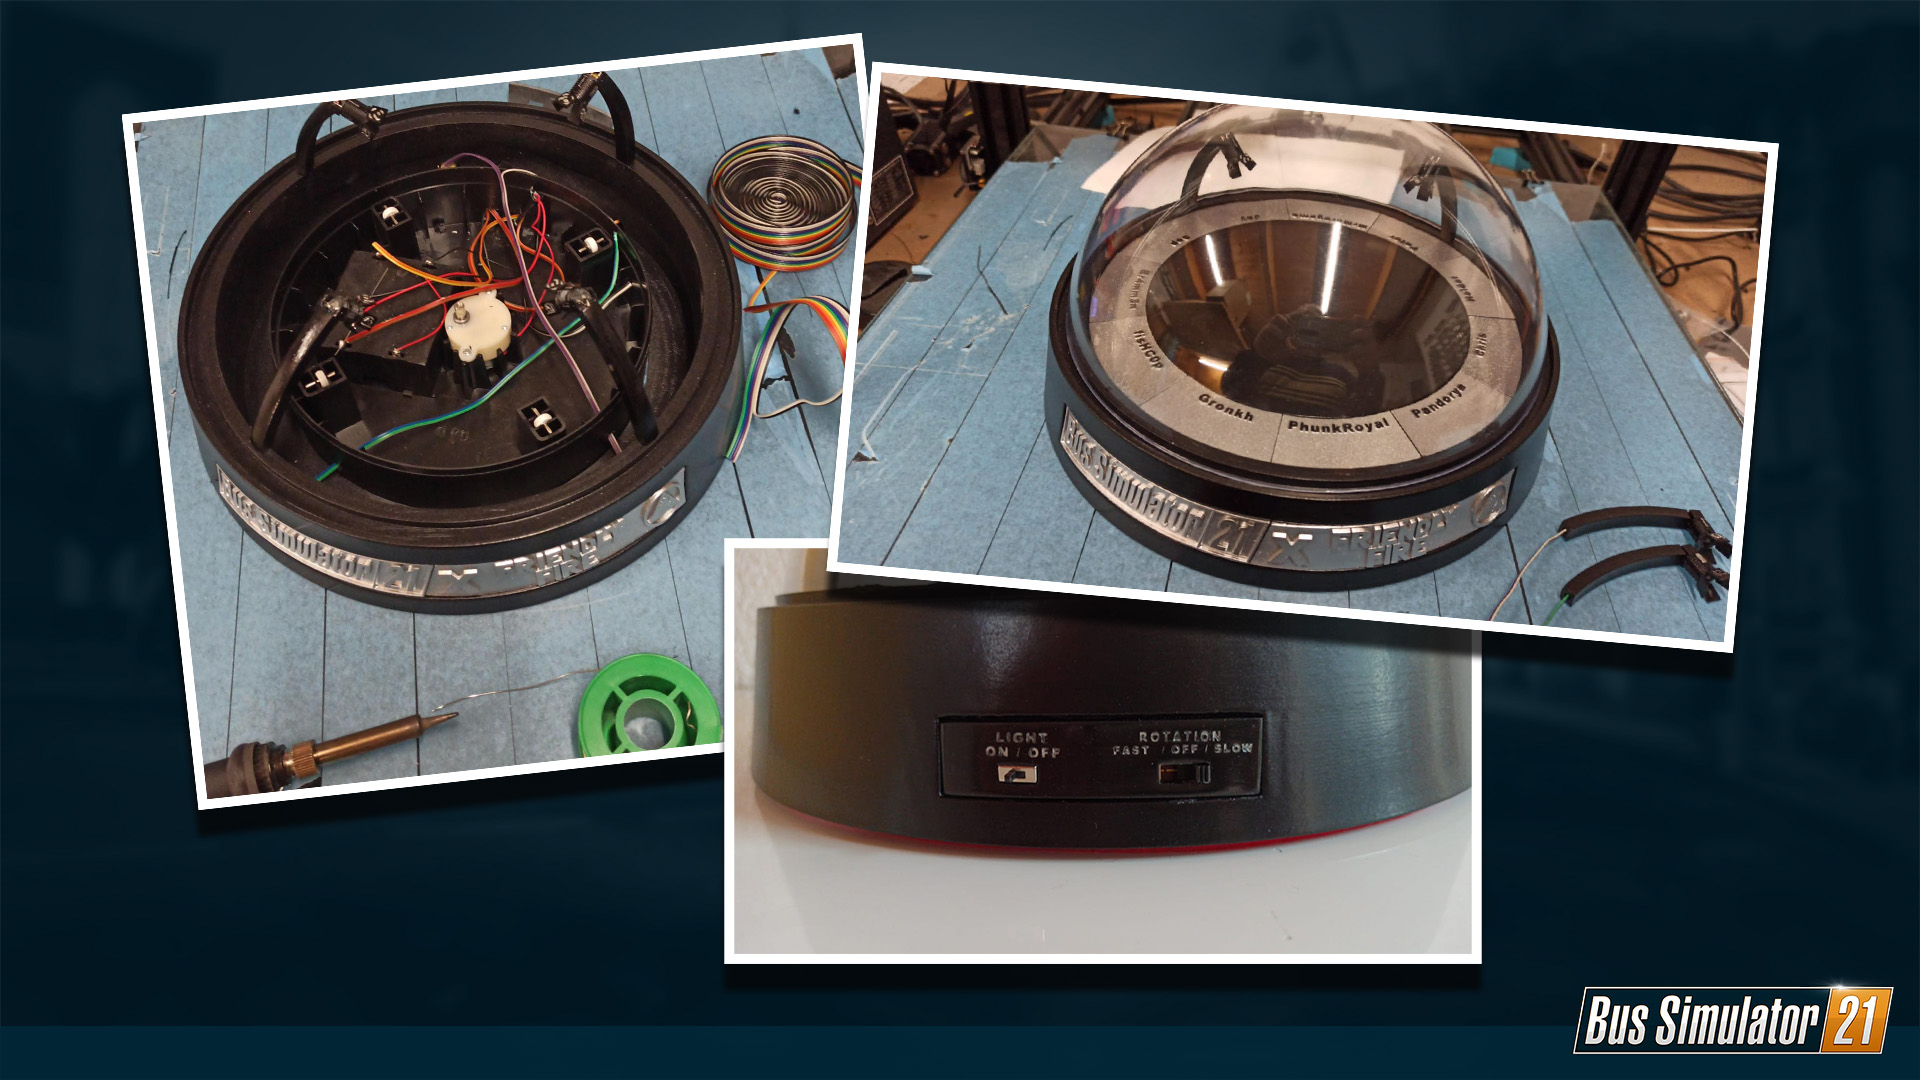
My idea was therefore a turntable with the signatures on its outer rim and the bus displayed in its center. First I drew a template. After that was greenlit, I ordered the parts such as the rotating plate, the plexiglass dome, enough 3D printing material, LEDs and so on. When the rotating plate arrived I was finally able to start constructing the 3D model.
I divided the 3D model into several parts and produced it with several 3D printers. The large parts with a FDM printer, where layer per layer is melted on with plastic. Logos and small parts I created with a resin printer. Here a liquid is made to harden using UV light. After printing the various parts, everything had to be sanded, primed and painted. As the paint now needs to dry, it is time to look at the lighting. Here I created a second electrical circuit, as I did not want to use the turntable’s batteries. After the electrics and the paint were done, I could start assembling the parts and gluing them together. I left the lighting spotlights rotatable at the bottom so that I could install the turntable.
I cut the plexiglass ball, which had been delivered in the meantime, into a hemisphere at its seam and glued an edge to its bottom. With this the display was ready and I could fix the bus permanently in the middle.
Safely packed and transported: The Box
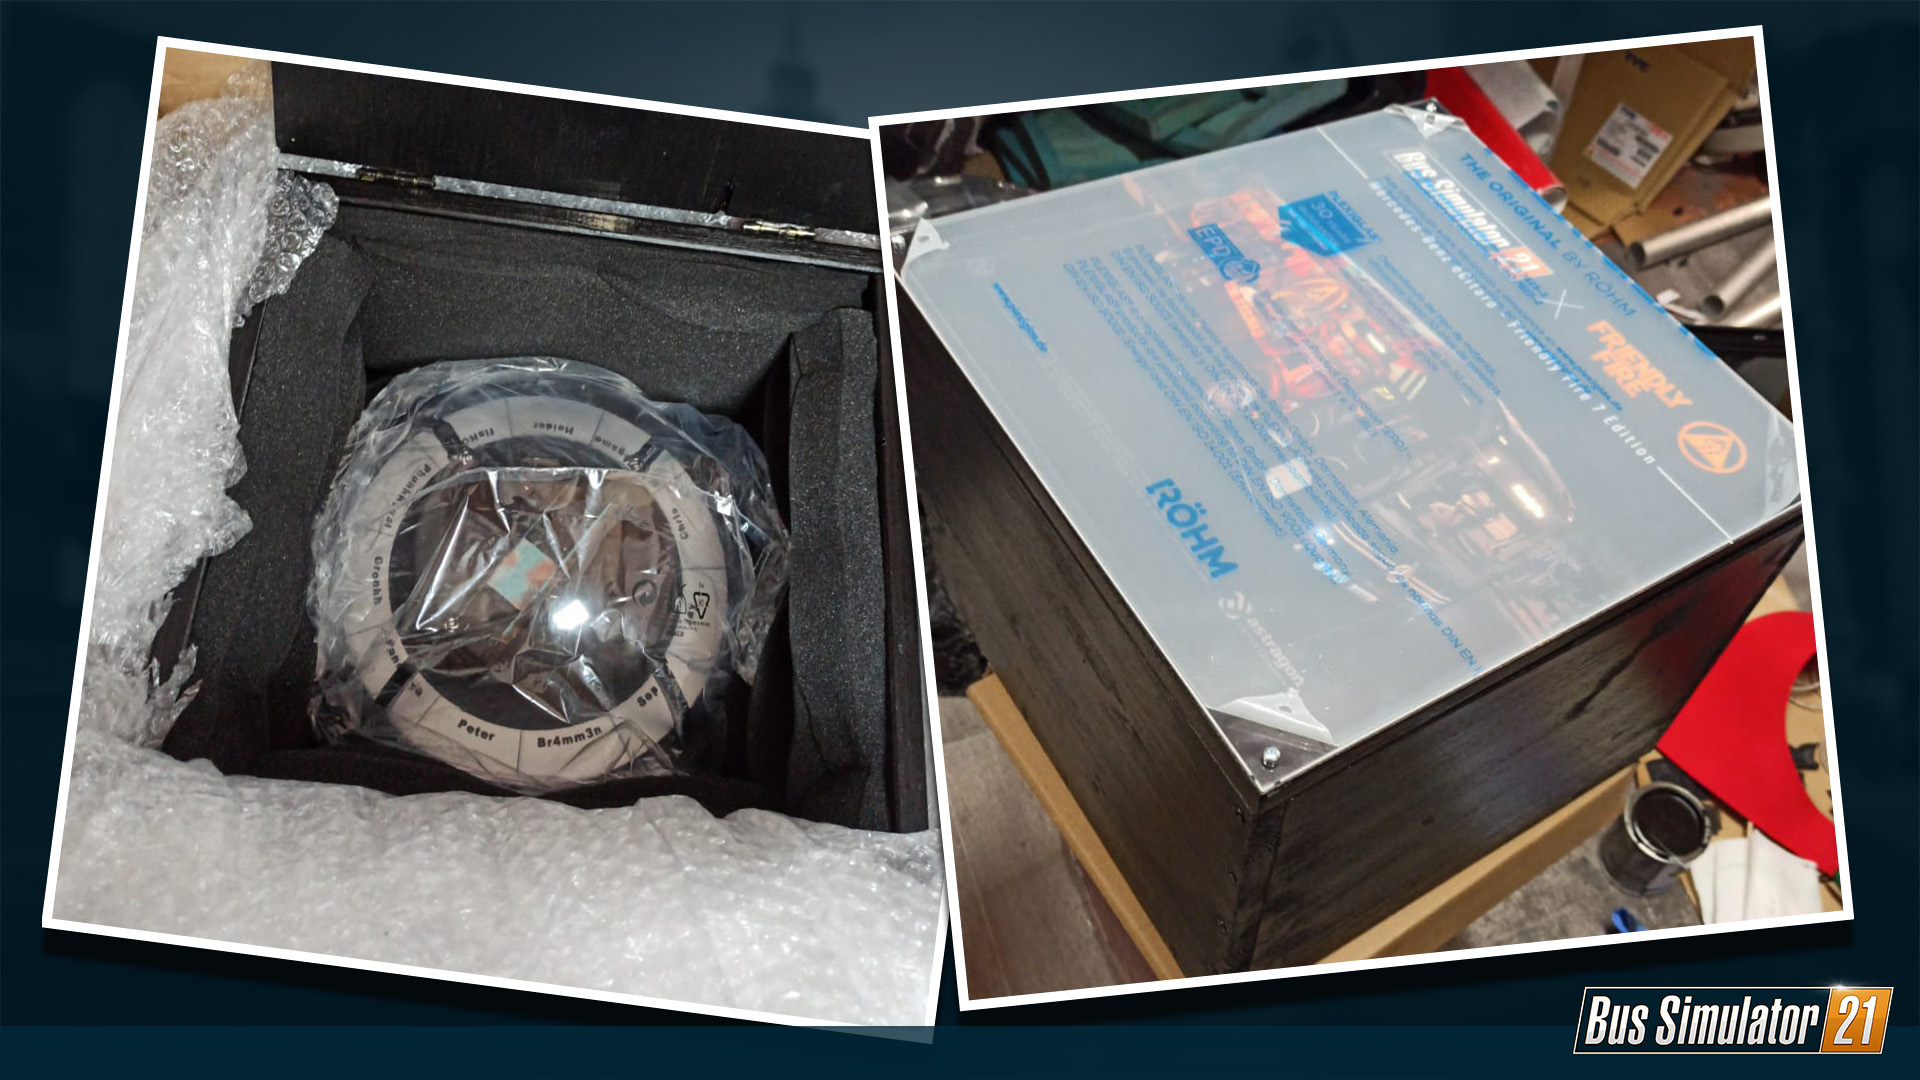
For the box the requirement was a simple black box with the label on its upper side. As the display was now ready I could take its measurements, of course with an allowance for the later insulation inside the box. I obtained the suitable materials and built the box out of wood. After screwing it together, it was painted black.
A printing company also made the right poster for the labels in the lid. For protection purposes I had a plexiglass plate laser cut including the holes to be able to attach it to the box. This way I have clean cut edges and don't run the risk of the plate tearing when drilling the holes. Inside I have now lined the box with upholstery foam so that the display is kept safe during transport.
All in all, the creation of the Mercedes-Benz eCitaro - Friendly Fire 7 Edition was a very exciting and very challenging project. I learned a lot here myself. As you can imagine, a lot of time and know-how went into it. I hope the lucky winner of the auction is as excited as I am!